
Look, I’ve tested more keto cheesecake recipes than I can count over the past six years of food blogging. Most of them are… fine. They’re serviceable low-carb desserts. But that dense, rich, creamy texture of a true New York slice? That’s the holy grail. And honestly, most recipes miss the mark because they treat it like just another cheesecake.
It’s not.
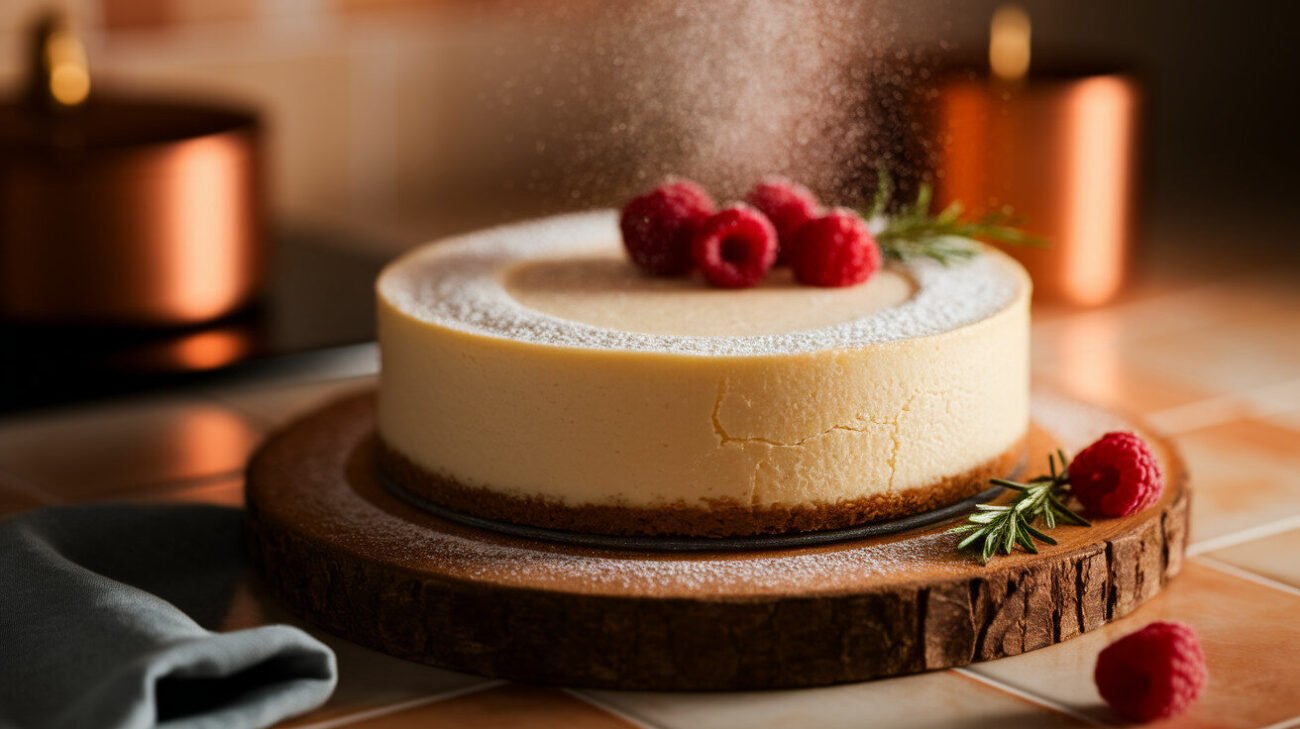
After developing and tweaking this recipe through probably two dozen iterations (my neighbors have been very willing taste testers), I’ve landed on what I genuinely believe is the ultimate Classic New York Keto Cheesecake. This isn’t an “almost as good” version. This is the real deal, just without the sugar. Let’s get into why this works so well.
Why a Classic New York Cheesecake is the Ultimate Keto Challenge
Deconstructing the Texture of a True New York Slice
The problem with most keto conversions is they misunderstand the texture. A New York cheesecake isn’t just creamy—it’s structurally dense yet smooth, with almost no air pockets. It should have some serious weight to it. Traditional recipes achieve this with a ton of full-fat dairy and careful mixing to avoid incorporating air.
When you remove the sugar, you’re not just removing sweetness. You’re removing a key structural component that affects moisture binding and the Maillard reaction during baking. Sugar also tenderizes, so without it, you risk a rubbery, eggy texture if you don’t adjust your technique. I found that using a combination of granulated erythritol and a tiny bit of allulose mimics the functional properties of sugar best. The allulose promotes better browning, which is crucial for that beautiful golden top.
The Sugar Conundrum: More Than Just Sweetness
This is where most keto bakers go wrong. They think, “I’ll just swap sugar for monk fruit,” and call it a day. But sugar does so much more than sweeten. It provides bulk, affects the temperature at which the proteins set, and contributes to that signature slight crust on the surface.
Through my testing, I learned that different sweeteners behave wildly differently in a high-fat, high-protein environment like cheesecake. Pure stevia, for instance, can turn bitter when baked for long periods. Monk fruit can sometimes create a cooling sensation that clashes with the pure dairy flavor. My winning blend? One cup of granulated erythritol (like Lakanto’s classic) plus two tablespoons of allulose. The erythritol provides the bulk and structure, while the allulose handles browning and prevents the slight crystalline mouthfeel erythritol can sometimes leave. It’s a professional baker’s workaround that I’ve adapted for the home kitchen.
Gathering Your Keto Cheesecake Arsenal: Ingredients & Tools
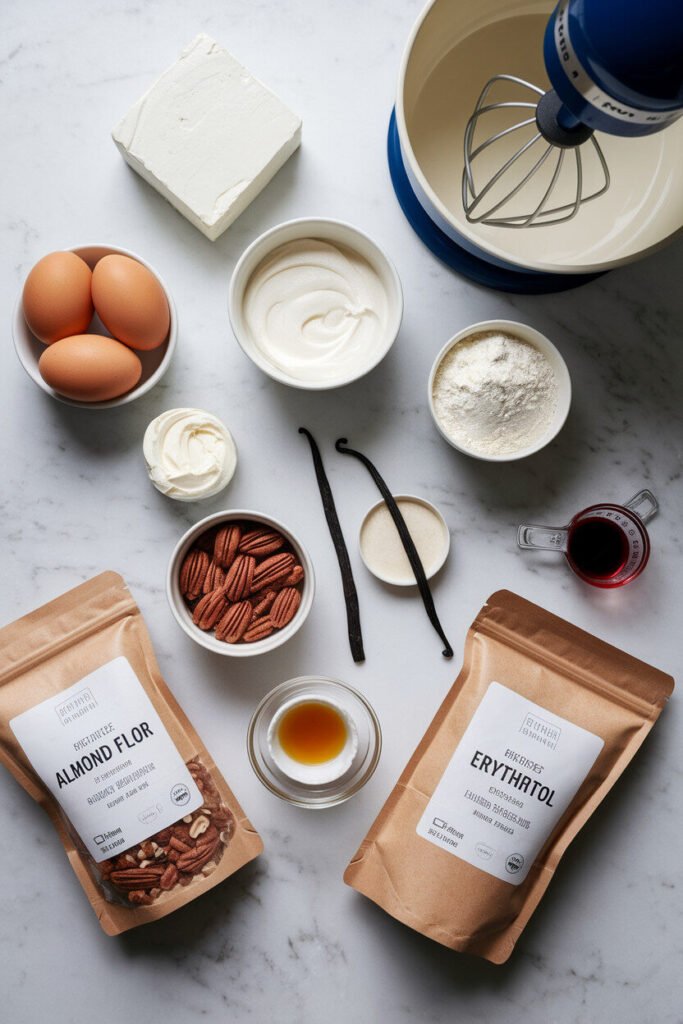
The Core Ingredients for a Rich and Creamy Filling
- Cream Cheese (32 oz, full-fat): This is non-negotiable. Use brick-style, full-fat Philadelphia. The tubs have stabilizers that can mess with the texture. And it MUST be at room temperature. I leave mine out for a solid 4-5 hours. If it’s cold, you’ll get lumps, and you’ll be tempted to overmix, which incorporates air. Air is the enemy of density.
- Sour Cream (1 cup, full-fat): This is my secret weapon for tang and a velvety mouthfeel. Some recipes use heavy cream, but sour cream adds acidity that cuts through the richness perfectly, mimicking the flavor profile of a traditional sour cream-topped NY cheesecake.
- Eggs (3 large, room temperature): They should be room temp to blend smoothly without overmixing. I use them as the final ingredient, mixed in on low speed just until incorporated. Over-beating the eggs is a primary cause of cracking and puffing.
- Sweetener: As discussed, 1 cup granulated erythritol + 2 tbsp allulose.
- Vanilla Extract (1 tbsp): Use the real stuff. The flavor needs to be robust.
- Lemon Juice (1 tsp): Just a hint to brighten all the fat. Don’t skip it.
Building a Sturdy, Buttery Keto Crust
Forget sandy, crumbly almond flour crusts. The goal is a base that holds its structure against the dense filling.
- Blanched Almond Flour (1 ½ cups): Provides the base. I prefer blanched for a finer texture.
- Pecans (½ cup, finely ground): This is my twist. Toasting and grinding pecans adds a buttery, complex flavor that elevates it beyond a standard crust.
- Butter (⅓ cup, melted): Salted butter, please. It enhances the flavor.
- Granulated Sweetener (3 tbsp): Just a touch to sweeten the crust.
- A Pinch of Salt: Balances the sweetness.
Essential Equipment for Bakery-Level Results
- 9-inch Springform Pan: Absolutely critical. Don’t try to make this in a regular cake pan.
- Stand Mixer or Electric Hand Mixer: You need the power to cream the cheese properly without whipping in too much air. A stand mixer with a paddle attachment is ideal.
- Heavy-Duty Aluminum Foil: For the water bath. You’ll need a few sheets to create a leak-proof seal.
- Roasting Pan: Large enough to hold the springform pan for the water bath.
- Instant-Read Thermometer: The most reliable way to know when your cheesecake is done. Guessing leads to overbaking.
[content-egg module=Amazon template=list]
The Step-by-Step Method to Keto Cheesecake Perfection
Preparing the Pan and Crafting the Crust
First, don’t just grease the pan. Take a minute to trace and cut a circle of parchment paper for the bottom. This guarantees a clean release. Trust me on this.
For the crust, preheat your oven to 350°F (175°C). Pulse the pecans in a food processor until they’re a fine meal, but stop before they turn into nut butter. In a bowl, mix the almond flour, ground pecans, sweetener, and salt. Stir in the melted butter until the mixture resembles wet sand. Press it firmly and evenly into the bottom of your prepared springform pan. I use the flat bottom of a measuring cup to really compact it. Bake for 10-12 minutes until lightly golden. Let it cool while you make the filling. This pre-baking step is crucial for a crisp base that won’t get soggy.
Achieving the Perfect Creamy Filling Consistency
This is where the magic happens. Or where it fails. Reduce your oven to 325°F (160°C).
- Cream the Cheese Alone: In your mixer bowl with the paddle attachment, beat the room-temperature cream cheese on medium-low speed until it’s completely smooth. No lumps. Scrape down the bowl and beater thoroughly. This first step is the most important for a silky texture.
- Add Sweetener and Flavor: Add the sweetener blend, vanilla, and lemon juice. Beat on low until just combined. Scrape down the bowl again. You should see no streaks of sweetener.
- Incorporate the Sour Cream: Add the sour cream and mix on low until uniform.
- The Egg Finale: With the mixer on the lowest possible speed, add the eggs one at a time, mixing only until the yolk disappears into the batter after each addition. The moment the last egg is incorporated, STOP MIXING. Overmixing here incorporates air and activates the proteins too much, leading to a puffy, cracked cheesecake.
Your final batter should be thick, luxuriously smooth, and completely homogenous.
The Art of the Water Bath and Low-and-Slow Bake
The water bath (or bain-marie) is not optional for a New York style. It provides gentle, moist heat that cooks the cheesecake evenly without overcooking the edges, which is what prevents cracks.
Wrap the bottom and sides of your springform pan tightly in two layers of heavy-duty foil. This is your leak insurance. Pour the filling over the cooled crust. Smooth the top. Place the foiled-wrapped pan into your roasting pan and place it on the oven rack. Then, carefully pour hot water into the roasting pan until it comes about halfway up the sides of the springform pan.
Bake for 60-75 minutes. The edges should look set, but the center—about a 3-inch circle—should still have a pronounced jiggle, like Jell-O. It should not look liquid. This is the hardest part for bakers—having the patience to pull it while it’s still underdone in the center. An instant-read thermometer inserted near the edge should read about 150°F (65°C).
The Crucial Cooling and Chilling Process
Turn the oven off, crack the door open slightly, and let the cheesecake cool in the oven for one hour. This gradual temperature drop is another key anti-crack measure. Then, remove it from the water bath, take off the foil, and cool completely on a wire rack for another 2-3 hours.
Finally, and this is non-negotiable, you must refrigerate it uncovered for at least 8 hours, preferably overnight. The filling needs this time to fully set and develop its flavor and texture. Slicing into a warm cheesecake is a tragedy.

Pro Tips, Variations, and Serving Suggestions
Troubleshooting Common Keto Cheesecake Issues
- Cracked Top: Usually from overmixing the eggs, overbaking, or a too-rapid temperature change. The water bath and slow cooling fix 90% of this. A small crack is cosmetic, but if it bothers you, cover it with a sour cream topping (mix 1 cup sour cream with 2 tbsp sweetener and spread it on after the initial bake) or some berries.
- Grainy Texture: Almost always from using cold cream cheese or under-mixing it initially. Ensure everything is truly room temp.
- Soggy Crust: You didn’t pre-bake it, or the foil leaked in the water bath. Be meticulous with your foil wrapping.
Delicious Low-Carb Topping and Flavor Variations
- Classic Berry Compote: Simmer 1 cup frozen mixed berries with 1 tbsp of water and 1-2 tbsp of your sweetener until thickened.
- Lemon Blueberry: Add the zest of one lemon to the batter and swirl in a cup of fresh blueberries before baking.
- Chocolate Swirl: Melt 3 oz of sugar-free dark chocolate with 2 tbsp of heavy cream. Drop spoonfuls onto the filled batter and swirl with a knife.
Frequently Asked Questions
Can I make this keto cheesecake without a springform pan?
You can try with a deep-dish pie plate, but the serving and release will be messy. The springform is designed for this purpose, and I highly recommend it for the best results.
Why did my keto cheesecake crack, and how can I prevent it?
The main culprits are overmixing (incorporating too much air), overbaking, or cooling it too quickly. Follow the water bath and slow cooling instructions religiously. Don’t worry, a cracked cheesecake still tastes amazing!
How long will a keto cheesecake last in the refrigerator?
Wrapped tightly in plastic wrap or in an airtight container, it will stay perfect for up to 5 days. The flavor actually improves after a day or two.
Can I freeze this Classic New York Keto Cheesecake?
Absolutely. Wrap the whole cheesecake or individual slices tightly in plastic wrap and then in foil. It will freeze beautifully for up to 3 months. Thaw overnight in the refrigerator.
What’s the best sweetener to use for a sugar-free cheesecake?
Based on my extensive testing, a blend of granulated erythritol and a small amount of allulose provides the best texture, browning, and flavor without aftertaste. Pure monk fruit blends can work, but watch for that cooling sensation.
Is this recipe suitable for a nut-free diet?
You can make it nut-free by substituting the almond/pecan crust with a crust made from 1 ½ cups of sunflower seed flour. Be aware that sunflower seed flour can sometimes react with baking soda/powder to turn green, but that’s not an issue here since the crust has neither.
Why is room temperature cream cheese so important?
Cold cream cheese will never become perfectly smooth. It will leave lumps in your batter, forcing you to overmix to try and eliminate them, which incorporates too much air and leads to a puffy, cracked cheesecake.
My filling is grainy. What went wrong?
This is almost always a temperature issue. The cream cheese wasn’t room temperature, or the eggs were too cold, causing the fat to seize up slightly. Next time, plan ahead and let your ingredients warm up properly.