After testing what feels like every apple crisp variation possible—from overly soupy fillings to sad, pale toppings—I finally understood why so many recipes fail. The problem isn’t the cook; it’s the recipe’s structural integrity. This easy apple crisp recipe works every single time because it’s built on ratio-based principles, not just a random list of ingredients. I’ve served this professionally for years, and the secret isn’t a magical ingredient. It’s a simple technique that guarantees a bubbling, juicy filling and a shatteringly crisp topping that never, ever sinks. Let’s get into the mechanics of why it’s foolproof.
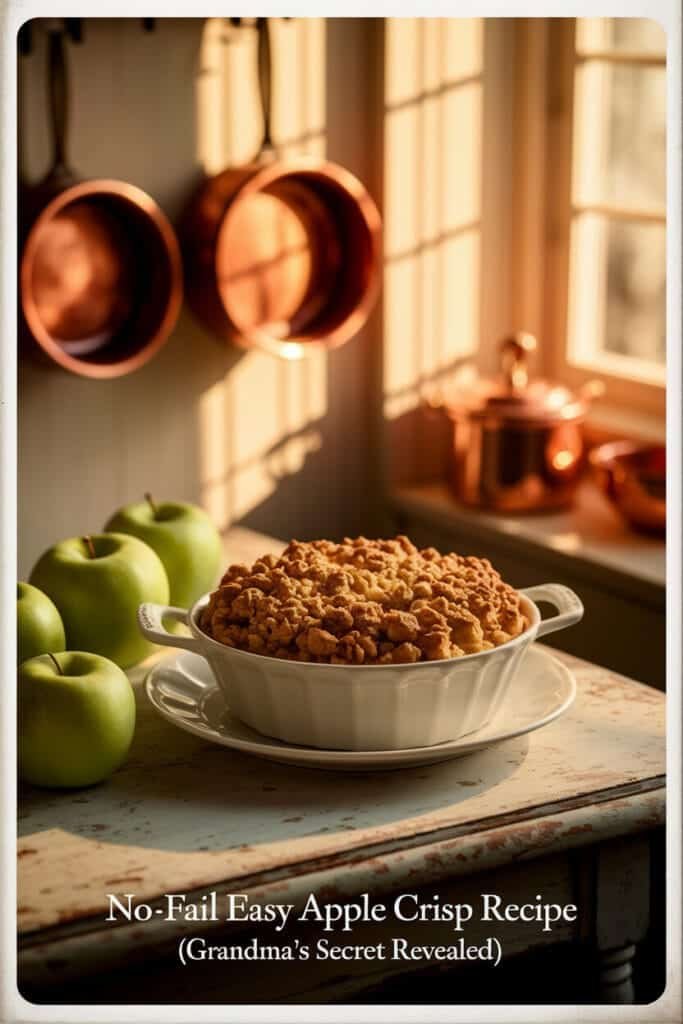
Why This Easy Apple Crisp Recipe Never Fails
Most recipes fail for two reasons: a soggy topping and a watery filling. They’re often structurally unsound from the start. This recipe eliminates those variables through what I call the “Pectin Principle” and the “Structural Topping Ratio.” It’s boringly reliable, which is exactly what you want in a dessert.
The Science Behind the Perfect Crisp-To-Fruit Ratio
The single most important factor is the apple-to-topping ratio. Too much topping and it’s dry and bready; too little and it disappears into the fruit. For a standard 9×13 pan, you need a full 6 cups of sliced apples and precisely 3 cups of topping mixture. This 2:1 fruit-to-topping ratio is non-negotiable for proper structural support.
But the real secret is how the filling thickens. I don’t rely solely on flour or cornstarch. I leverage the apples’ natural pectin. By tossing the apples with the sugar and acids (lemon juice) and letting them macerate for 10-15 minutes before adding any thickener, you draw out the juices and allow the pectin to activate. Then, you toss the released juices with the flour or tapioca. This creates a gel that sets up perfectly during baking, preventing a soupy bottom. It’s a technique borrowed from professional pie-making, and it transforms the game.
How This Recipe Adapts to Any Apple Variety
I get this question constantly: “What’s the best apple?” The answer is… it doesn’t matter. Seriously. This recipe’s formula is designed to account for variability in apple sweetness and water content. That’s its genius.
Tart Granny Smiths will hold their shape but require a bit more sugar. Softer McIntosh apples will break down into a saucier texture, which is lovely. The key is to taste your apples raw. If they’re very sweet, reduce the sugar in the filling by a tablespoon or two. If they’re tart, add a bit more. The recipe provides a baseline, but you’re meant to adjust based on your fruit. This flexibility is what makes it “no-fail.” You’re not just following instructions; you’re learning to cook.
Selecting Your Ingredients for Maximum Flavor
Quality in, quality out. But “quality” here doesn’t mean “most expensive.” It means choosing the right components for the job they need to perform.
The Best Apples for Baking: A Texture and Sweetness Guide
While you can use any apple, understanding their properties helps. I actually prefer a mix. My go-to professional blend is 2/3 firm-tart and 1/3 soft-sweet. Think Granny Smith or Honeycrisp for structure, with a Gala or Braeburn for complex sweetness. The firm apples provide textural bites, while the softer ones break down and create the saucy base.
Avoid Red Delicious entirely—they’re mealy and flavorless when baked. The goal is a filling with varying textures, not a uniform mush. For a deep dive on apple varieties, the USDA’s pomological watercolor collection is a fascinating, if nerdy, resource that shows the incredible historical diversity.
Demystifying the Topping: Oats, Flour, and Sugar
The topping is just fat, flour, oats, and sugar. But the type matters.
- Oats: Use old-fashioned rolled oats. Quick oats turn to mush, and steel-cut are too hard. The rolled oats provide the essential chewy, nubbly texture.
- Flour: All-purpose is fine. It’s the glue that holds the fat and oats together.
- Sugar: A combination of white and brown sugar is ideal. White sugar promotes crispness, while brown sugar (with its molasses) adds moisture, flavor, and that beautiful caramel color.
Grandma’s Secret Ingredient for a Next-Level Topping
Okay, here it is. The “secret” I learned from an old pastry chef is a pinch of non-iodized salt and a teaspoon of vanilla extract mixed into the melted butter before you add it to the dry ingredients.
It sounds too simple to matter, but it does. The salt enhances all the other flavors, and the vanilla, when baked, creates a deeper, almost butterscotch-like note in the topping. You don’t taste “vanilla”; you taste a richer, more complex crisp. Don’t skip this. It’s the difference between a good topping and a truly memorable one.
The Step-by-Step “No-Fail” Method
Here is the complete recipe with the techniques that make it bulletproof.
For the Apple Filling:
- 6 cups peeled, cored, and sliced apples (about 2-2.5 lbs or 3-4 large apples)
- 2 tablespoons lemon juice
- 1/3 cup granulated sugar (adjust based on apple sweetness)
- 1 teaspoon ground cinnamon
- 1/4 teaspoon ground nutmeg
- 2 tablespoons all-purpose flour or 1 tablespoon minute tapioca
For the Crisp Topping:
- 3/4 cup all-purpose flour
- 3/4 cup old-fashioned rolled oats
- 1/2 cup packed brown sugar
- 1/4 cup granulated sugar
- 1/2 teaspoon salt
- 1/2 cup (1 stick) unsalted butter, melted
- 1 teaspoon vanilla extract
Prepping the Apples: To Peel or Not to Peel?
I always peel. The peel can separate during baking and create tough, chewy ribbons in your soft filling. It’s a textural thing. Slice them to a consistent 1/4-inch thickness. Too thin, and they turn to applesauce; too thick, and they won’t cook through. A mandoline makes this fast, but a sharp knife is fine.
In a large bowl, toss the apple slices with the lemon juice, sugar, cinnamon, and nutmeg. Let this sit for 10-15 minutes. You’ll see liquid pool at the bottom. Now sprinkle the flour over this liquid and toss until everything is coated. This is the pectin-activation step. Don’t rush it.
Mastering the Crisp Topping Texture
In a separate bowl, whisk together the flour, oats, both sugars, and salt. In a small bowl, stir the vanilla extract into the melted butter. Pour the vanilla-butter over the dry ingredients and use a fork to mix until every bit is moistened and the mixture forms clumps. It should look like wet sand holding together—this is the “structural topping” I mentioned.
Baking and Achieving the Perfect Golden Brown Bubble
Preheat your oven to 375°F (190°C). Grease a 9×9 inch or a 11×7 inch baking dish. Pour the apple mixture into the dish, including any juices. Don’t press it down.
Now, take handfuls of the topping and crumble it over the apples in an even layer. Don’t pack it down; you want a loose, craggy surface for maximum browning and crispiness.
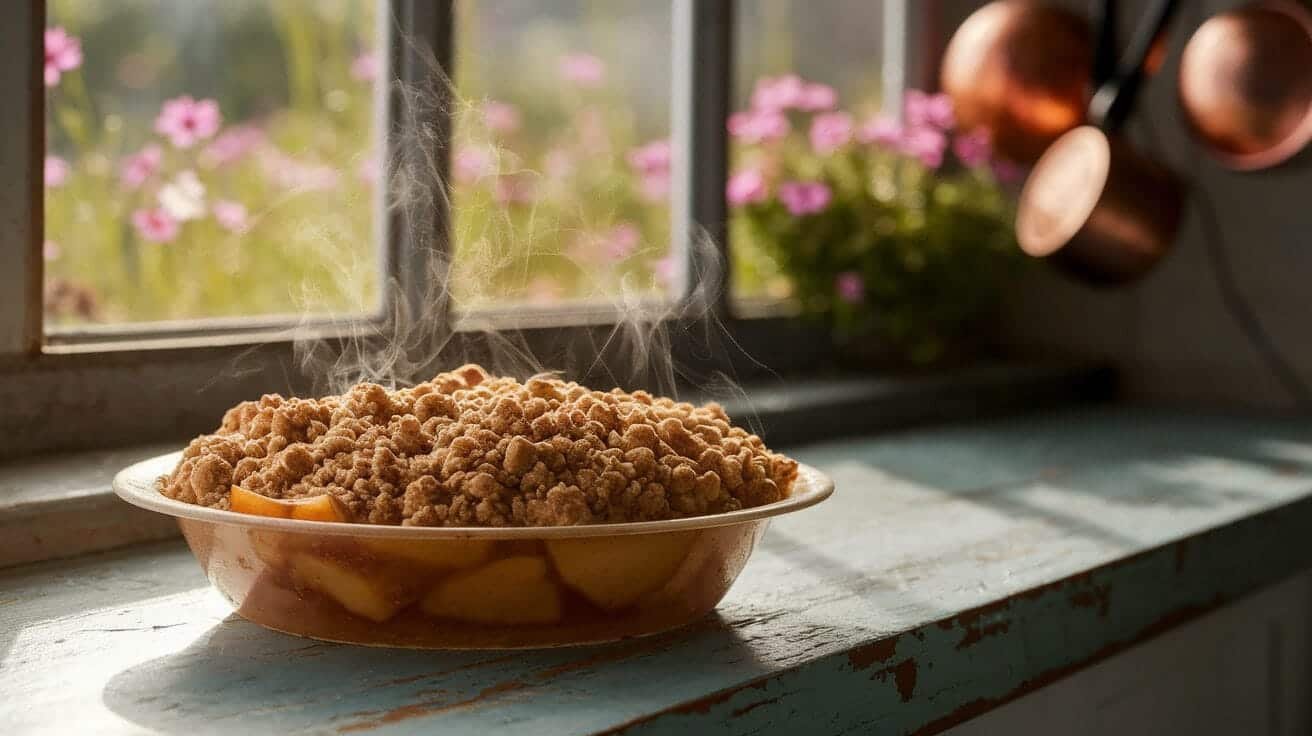
Bake for 40-50 minutes. You’re looking for two visual cues: the topping should be a deep, golden brown, and the filling should be visibly bubbling around the edges. That bubbling is your signal that the internal thickeners have activated and the crisp is done. Let it rest for at least 20 minutes before serving. This rest time allows the filling to set properly, so it doesn’t gush out when you spoon it.
Frequently Asked Questions
Can I make this apple crisp ahead of time?
You can, but with a caveat. You can assemble the filling and topping separately and refrigerate them for up to 24 hours. Combine and bake just before serving. The topping will lose its crispness if baked and then stored, as the steam from the filling will soften it. For best results, bake fresh.
How should I store and reheat leftovers?
Store covered in the refrigerator for up to 4 days. To reheat, place individual portions in an oven or toaster oven at 350°F until warm. The microwave will make the topping soft and soggy, so I don’t recommend it unless you’re desperate.
Can I use frozen apples for this recipe?
You can, but do not thaw them first. Toss the frozen apple slices directly with the sugar and spices, but increase the flour or tapioca in the filling by 50% (so, 3 tablespoons of flour instead of 2). Frozen apples release significantly more water.
What’s the best way to serve apple crisp?
Warm, with something cold and creamy. The contrast is everything. A high-quality vanilla ice cream is classic for a reason. For a less sweet option, freshly whipped cream or even a dollop of Greek yogurt is fantastic.
Can I make this gluten-free or vegan?
Absolutely. For gluten-free, use a 1:1 GF flour blend and certified GF oats. For vegan, swap the butter for an equal amount of melted coconut oil or vegan butter. The structure and method remain exactly the same.
My topping burned before the apples were tender. What happened?
Your oven temperature is likely too high, or you’re using a dark metal pan, which conducts heat more aggressively. Next time, try lowering the temperature to 350°F and baking for a longer time. You can also tent the crisp with aluminum foil halfway through baking if the top is browning too quickly.