Let’s be real here – finding a dessert that doesn’t completely wreck your keto goals while still satisfying that ice cream craving feels like searching for a unicorn sometimes. But guess what? I’ve cracked the code with this keto raspberry swirl ice cream that’ll make you forget you’re even on a diet. No joke, this stuff is so good that my non-keto friends have been sneaking spoonfuls when they think I’m not looking 🙂
Ever wonder why store-bought keto ice creams cost a fortune and still taste like frozen disappointment? That’s exactly why I started making my own. This raspberry swirl version has become my go-to summer treat, and honestly, it’s easier to make than you’d think.
Why This Recipe Actually Works (Unlike Those Pinterest Fails)
Look, I’ve tried my fair share of keto ice cream recipes that promised the world and delivered frozen sadness. This one’s different because it tackles the biggest problems head-on:
The texture issue: Most keto ice creams turn into rock-solid blocks. This recipe uses a combination of heavy cream, egg yolks, and a touch of xanthan gum to create that smooth, scoopable texture we all crave.
The sweetness balance: Finding the right sweetener blend took me about fifteen tries (yes, I counted). The combination of erythritol and stevia gives you sweetness without that weird metallic aftertaste that makes you question your life choices.
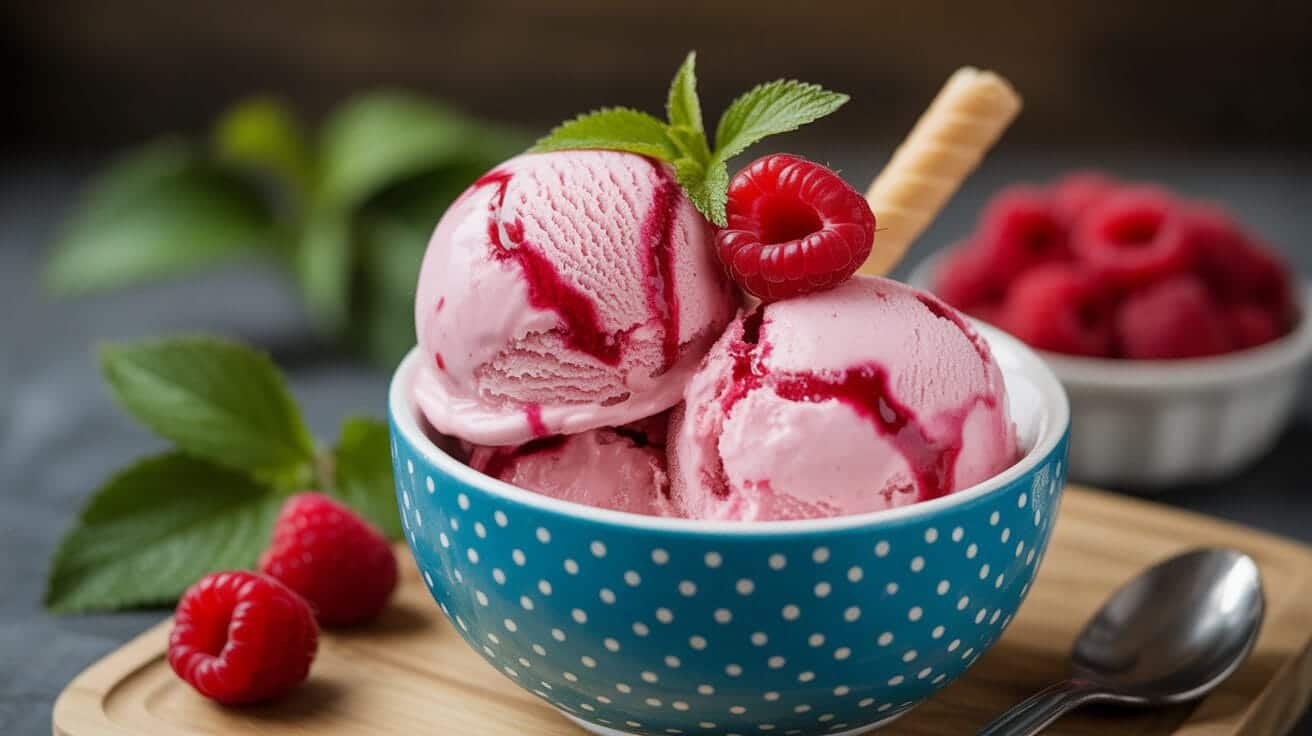
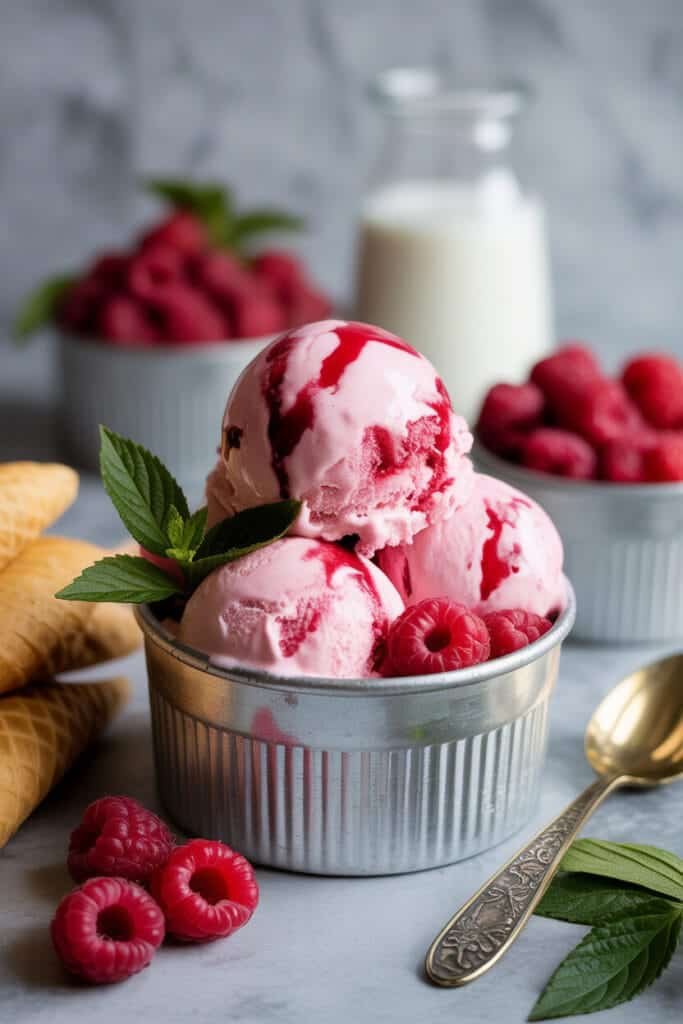
The raspberry swirl magic: Real raspberries pureed with a keto-friendly sweetener create those gorgeous pink ribbons that taste like summer in a bowl.
Ingredients That Actually Matter
For the Ice Cream Base:
- 2 cups heavy whipping cream
- 1 cup unsweetened almond milk
- 6 large egg yolks
- ¾ cup erythritol (granulated)
- 1 teaspoon vanilla extract
- ¼ teaspoon xanthan gum
- Pinch of salt
For the Raspberry Swirl:
- 1 cup fresh raspberries (or thawed frozen ones)
- 3 tablespoons powdered erythritol
- 1 tablespoon lemon juice
- 1 teaspoon vanilla extract
Pro tip: Don’t even think about skipping the xanthan gum. I know it sounds fancy and unnecessary, but trust me – it’s what keeps your ice cream from turning into a frozen brick that requires a jackhammer to serve.
The Step-by-Step Magic (It’s Easier Than You Think)
Making the Raspberry Swirl First
Start with the raspberry swirl because it needs time to cool down. Combine raspberries, powdered erythritol, lemon juice, and vanilla in a small saucepan over medium heat. Let it bubble away for about 5-7 minutes, mashing the berries as they soften.
Strain the mixture through a fine-mesh sieve to remove seeds (unless you’re into that chunky life – no judgment here). Set it aside to cool completely. This step is crucial because hot swirl plus cold ice cream equals a melted mess.
Creating the Perfect Base
Here’s where things get slightly more involved, but stick with me. Heat the almond milk in a medium saucepan until it’s steaming but not boiling. Meanwhile, whisk those egg yolks with erythritol until they’re pale and slightly thick.
Now comes the tricky part – tempering the eggs. Slowly pour about half the hot almond milk into the egg mixture while whisking constantly. And I mean constantly – unless you want scrambled egg ice cream (spoiler alert: you don’t).
Pour this mixture back into the saucepan and cook over medium-low heat, stirring constantly, until it coats the back of a spoon. This usually takes 5-8 minutes. Remove from heat and whisk in vanilla, salt, and xanthan gum.
The Cooling Game
Strain your custard base to remove any lumps, then stir in the heavy cream. Cover with plastic wrap pressed directly onto the surface (prevents that weird skin from forming) and refrigerate for at least 4 hours or overnight.
IMO, overnight is better because the flavors meld together beautifully, and patience pays off in the ice cream world.
Churning and Swirling Like a Pro
Once your base is properly chilled, churn it in your ice cream maker according to the manufacturer’s instructions. Usually takes about 20-25 minutes until it reaches soft-serve consistency.
Here’s the fun part: during the last few minutes of churning, drizzle in your raspberry swirl slowly. Don’t dump it all in at once unless you want raspberry ice cream instead of swirled ice cream. The goal is those Instagram-worthy ribbons of pink throughout.
Transfer to a freezer-safe container and freeze for at least 4 hours before serving. I know waiting sucks, but proper freezing time makes all the difference between creamy perfection and icy disappointment.
Troubleshooting Because Stuff Happens
“My Ice Cream is Too Hard!”
This happens when there’s too much water content or not enough fat. Next time, try using more heavy cream and less almond milk. Also, let it sit out for 5-10 minutes before scooping – keto ice cream needs a little warming up.
“The Swirl Disappeared!”
Temperature shock, my friend. Make sure your raspberry swirl is completely cooled before adding it to the churning ice cream. Hot swirl melts the ice cream and creates a pink mess instead of pretty ribbons.
“It Tastes Too Sweet/Not Sweet Enough”
Erythritol behaves differently when frozen, so taste-testing at room temperature isn’t always accurate. Start with the recipe amounts and adjust next time based on the final frozen result.
Storage and Serving Hacks
Store this beauty in an airtight container with plastic wrap pressed directly on the surface. It’ll keep for up to two weeks in the freezer, though good luck making it last that long.
For serving, I like to use a cookie scoop that’s been dipped in warm water – makes perfect, photo-worthy scoops every time. Serve in chilled bowls because nobody likes melted ice cream soup.
Variations That’ll Blow Your Mind
Once you’ve mastered this basic recipe, the world is your oyster:
- Blackberry swirl: Swap raspberries for blackberries and add a touch of lemon zest
- Chocolate raspberry: Add 2 tablespoons of unsweetened cocoa powder to the base
- Mint chip raspberry: A few drops of peppermint extract and some sugar-free chocolate chips
The Bottom Line
Look, making homemade keto ice cream isn’t rocket science, but it does require a bit of patience and the right technique. This raspberry swirl version hits all the right notes – creamy texture, balanced sweetness, and those gorgeous pink swirls that make it look like you actually know what you’re doing in the kitchen.
The best part? You control every ingredient that goes into it. No weird stabilizers, no mystery chemicals, just real food that happens to fit your macros perfectly. Plus, at about 4g net carbs per generous serving, you can actually enjoy dessert without derailing your progress.
So grab your ice cream maker, channel your inner ice cream artisan, and prepare to become the hero of your next summer gathering. Trust me, once you taste this homemade goodness, store-bought keto ice cream will seem like a sad, expensive joke :/
Final pro tip: Make a double batch because this stuff disappears faster than you’d think. You’ve been warned!